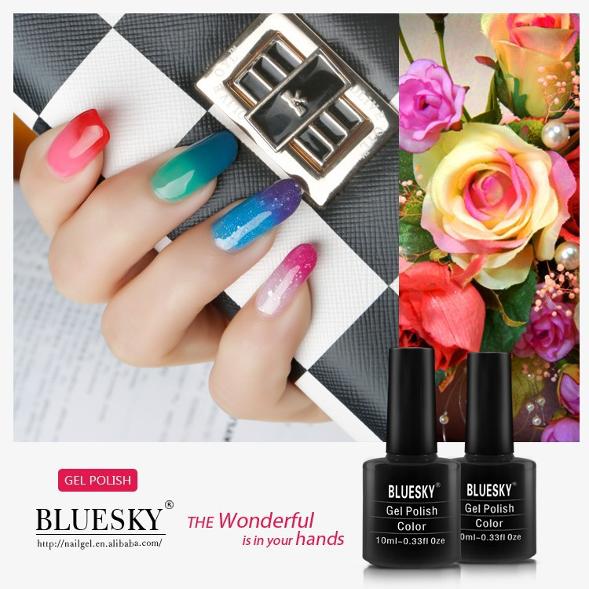
We talk about;
Nail Prep, Common Problems & Cuticle Care
If you are having concerns with the Gel polish lifting prematurely, cracking or other problems, then we recommend that you don't use water or soak your fingers before applying the Gel Polish - It will help with proper preparation and longer lasting nails as well as prevent premature peeing or cracking.
You can put moisture back into the cuticles once you've finished applying Gel Polish.
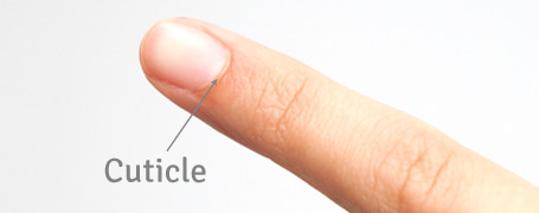
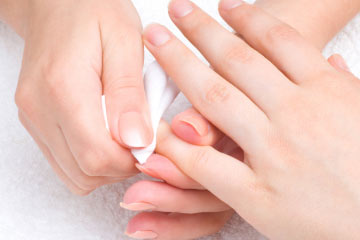
Cuticle care is a really important step in nail preparation - the cuticle is the dead skin which is at the base of the nail plate and if not removed properly, can effect the Base Coat from adhering to the nail plate.
Many people may not know this, but one of the secrets to long lasting Gel Nails, is not to put you hands in water right before the application.
You can dry manicure - avoid soaking your hands or fingers in water. Also try to avoid getting a Gel manicure directly after having a bath or washing dishes !
Nail Prep & Cuticle Care
Both are inexpensive and can be purchased for just a couple of dollars each.
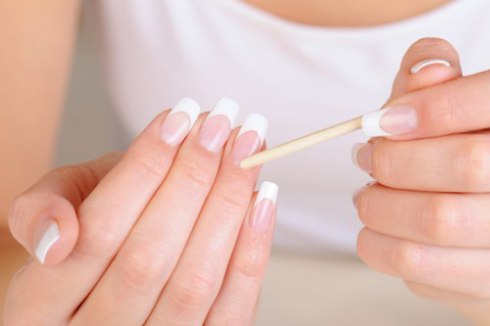
Angle the orange stick to gently push the cuticles toward the base of your nail plate, slowly a little at a time. Be careful not to push too hard and tear the skin as you may get a bacterial infection. The skin is there to protect the nail bed.
If you want to proceed with proper cuticle care and are having trouble pushing back the cuticle, soak your hands in warm water - add a few drops of essential oils to help soften your skin.
You can use, vaseline, moisturizer and soak them for awhile longer to soften them up.
2: After pushing back the cuticle you will need to remove dead skin.
If you think you want to try this step, there are plenty of educational and instructional videos on the internet - in any case you need to be extremely careful that you do not clip away at the live tissue (eponychium) - the dead skin will appear white in colour.
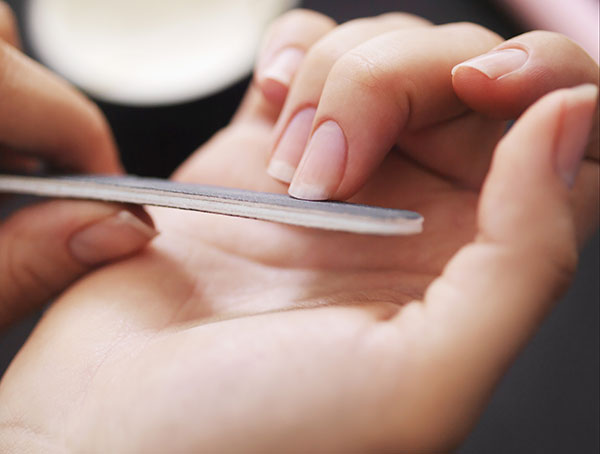
If you want to skip this step, you can gently buff the lose, dead skin with a file buff which will also remove the shine on the nail plate - explained in the next step.

4: It’s important that the nail plate is dehydrated and clean, free from dirt, natural oils, dead skin and moisture to ensure the base coat will adhere properly to the nail plate.
(At this stage, if you have applied moisturizer to your hands - wash them thoroughly in warm soapy water and dry with a clean towel.)
The best way to cleanse the nail plate, use a lint-free wipe and cleanser.The solution should be a 99% isopropyl alcohol based cleanser to dehydrate the nail plate.
Base Coat Application
Proper gel polish adhesion it’s important that the nail plate is dehydrated and free of oils, skin and debris.
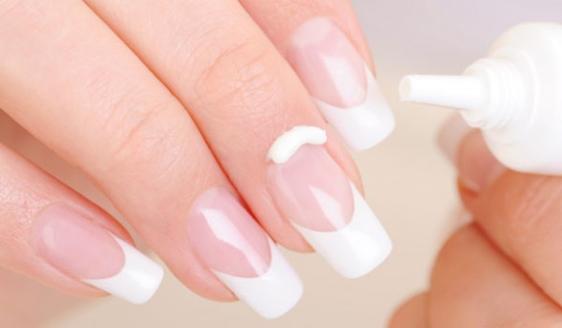
Apply a thin layer of Base Coat to each nail on one hand and cure under a UV lamp or Led lamp for the specified time.
Take careful concern that the base coat does not come into contact with the skin edges. Once it has been cured under the Curing lamp it may become like glue on your skin - in the same way be careful not to get the base coat between the nail tip and skin underneath.
If possible try and apply the Base Coat over the edge of the nail tip (capping the edges) - without getting it on the skin underneath.
You can use an alcohol wipe with an orange wood stick to remove any excess from the skin.
With some practice, it gets much easier !
Now your ready to start applying the Gel Polish
Below is some advise on how to achieve a great result - Remember to place your hand under the UV or Led Lamp for the recommended times and check with the Brands manufacturer on specific curing Lamps and times they recommended.
Cure in a 36 Watt UV Lamp Cure 2 minutes each time for Best Results
48 Watt Led Lamp Cure 30 Seconds
Do not wipe the nails in-between coats (they should feel sticky)
2. Apply a second colour coat and cure under UV or Led lamp.
3. Apply the final Top Coat and cure under UV or Led lamp. Use a cleansing solution of 99% isopropyl alcohol based cleanser or alcohol wipe to remove the sticky residue for a fabulous shiny finish.
Let's review the application process
Grab the Starter Kit, in which there are a number of essential goodies.
Use the Pusher to nudge back your cuticles, then wipe across your nails with the Lint Free Wipes and Cleanser to remove any residue. This gives nail beds a thorough clean, creating a well prepared base for the polish. Next, add a light coat of Primer across the tips of your nails and let dry for 10 secs.
Quick tip: Make sure that you actually use the Lint Free Wipes for this, as a cotton tip or tissue can leave behind pesky stray strands.
Apply the Base Coat in one thin layer and cure under the (45-48w) LED light for 20 seconds.
Now apply your favorite colour and cure under the (48w) LED light for 30 seconds, and do the same thing with the second colour coat - do not to wipe the nail in between coats.
Finally, apply the top coat and cure again under the lamp for 30 secs in a 48 watt UV nail lamp
You can now use the alcohol wipe to remove the sticky residue and you will have shiny, glossy looking nails!
Apply cuticle oil to each nail for added nourishment.
The process in total takes around 30-40 minutes, and will reduce with practice !